

How To Heat Set Chalk Couture Ink On Fabric
If you don't already know my love for Chalk Couture, please READ THIS Beginning! If you have read my previous posts on Chalk Couture or if you have seen my videos on Youtube, you know how Chalk Couture is an astonishing company that makes reusable, self-adhesive stencils, removable chalk paste and permanent ink. I have a ton of tutorials on how to use the transfers and the paste, but non brand tutorials on the permanent ink. Today, I am sharing tips and tricks for using Chalk Couture ink.
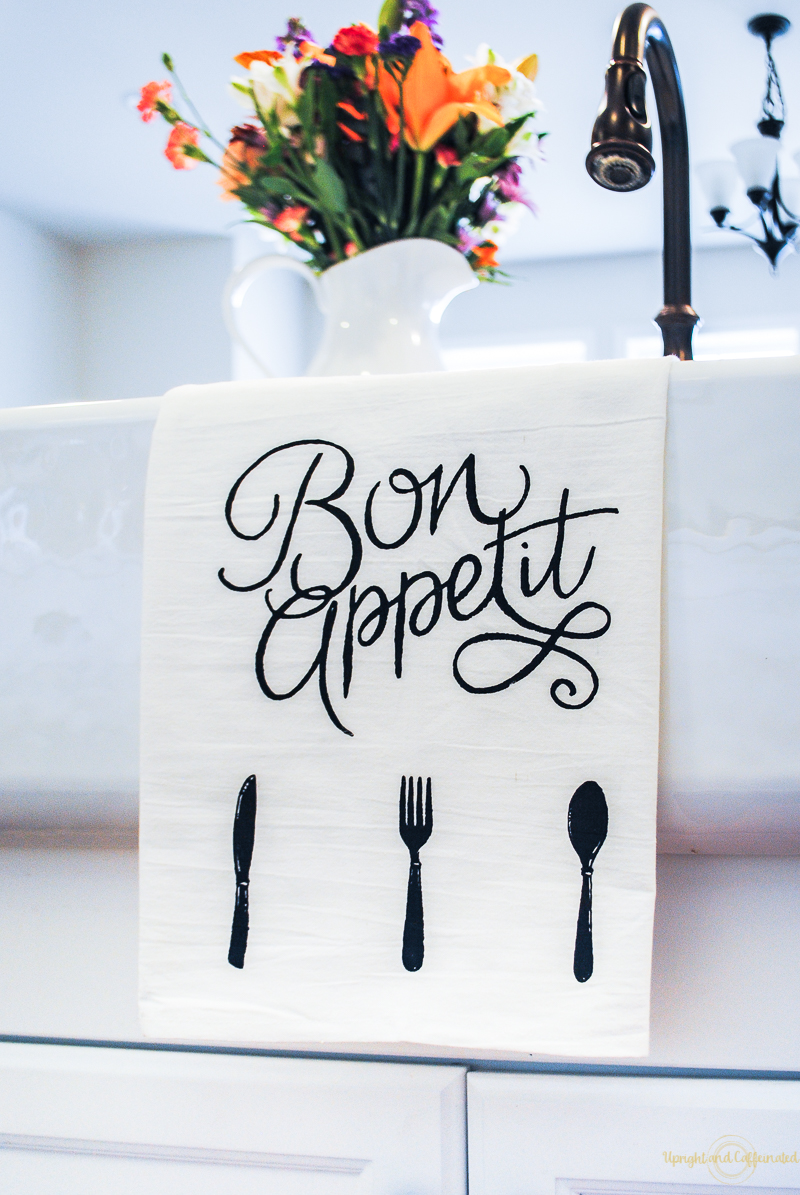
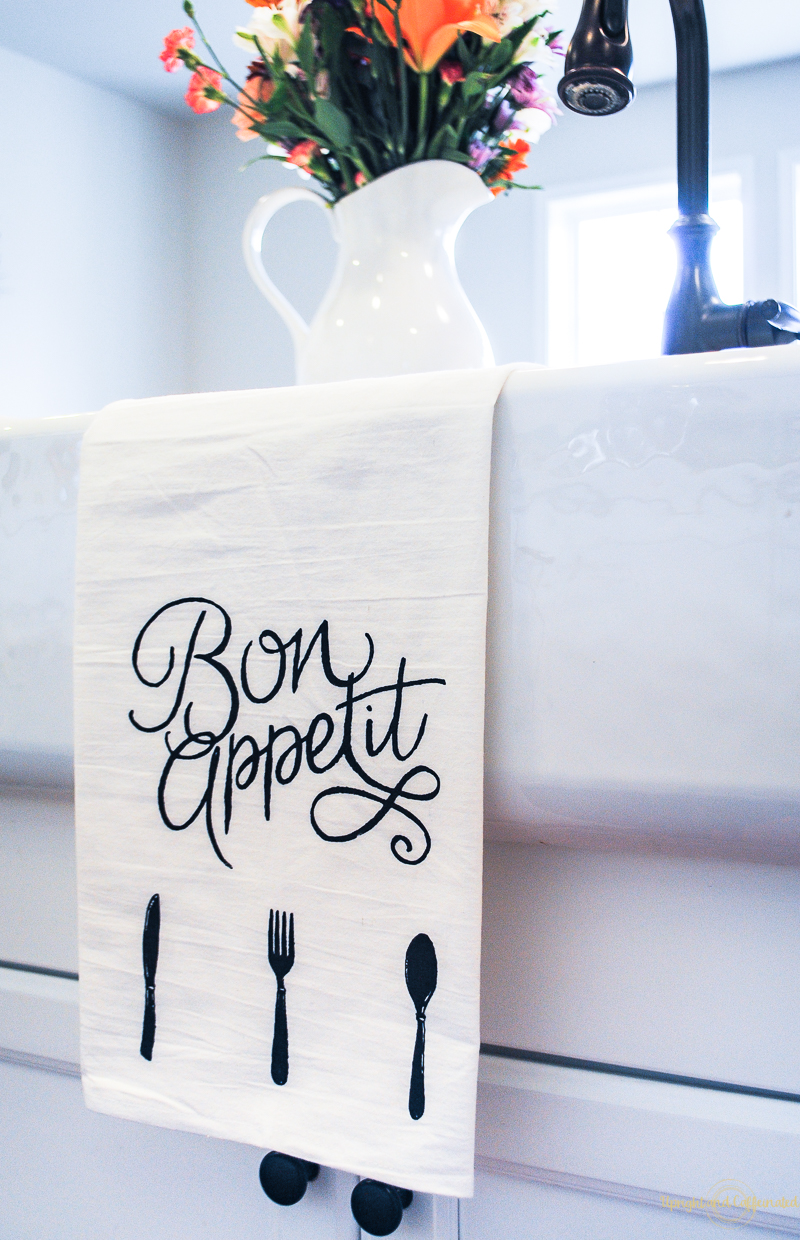
Once I started using Chalk Couture ink, I completely stopped using heat transfer vinyl. Here's the thing- HTV pulls off afterwards so many washes, so it's really non permanent. Chalk Couture Ink is permanent and never fades. For t-shirts, tea towels and anything else that needs to be washed, I would absolutely use Chalk Couture ink over HTV.
Let me tell you, I was SCARED to use the ink! Yup, scared. The reason is, because it is permanent! I have gotten so used to using the chalk paste, which is completely removable from hard surfaces! The thought of making something permanent totally freaked me out. BUT, I started using the ink and I have learned some tips and tricks to ensure your project turns out PERFECTLY!
WANT TO Larn More than ABOUT CHALK COUTURE? JOIN MY FREE CRAFTING COMMUNITY.

First of all, the transfers can be used for ink or paste, as well every bit the squeegees. The but divergence is using either paste or ink. So if y'all have a transfer that yous LOVE and want to have it on a pillow, t-shirt, towel or chapeau, all you accept to do is use the ink and oestrus set it. 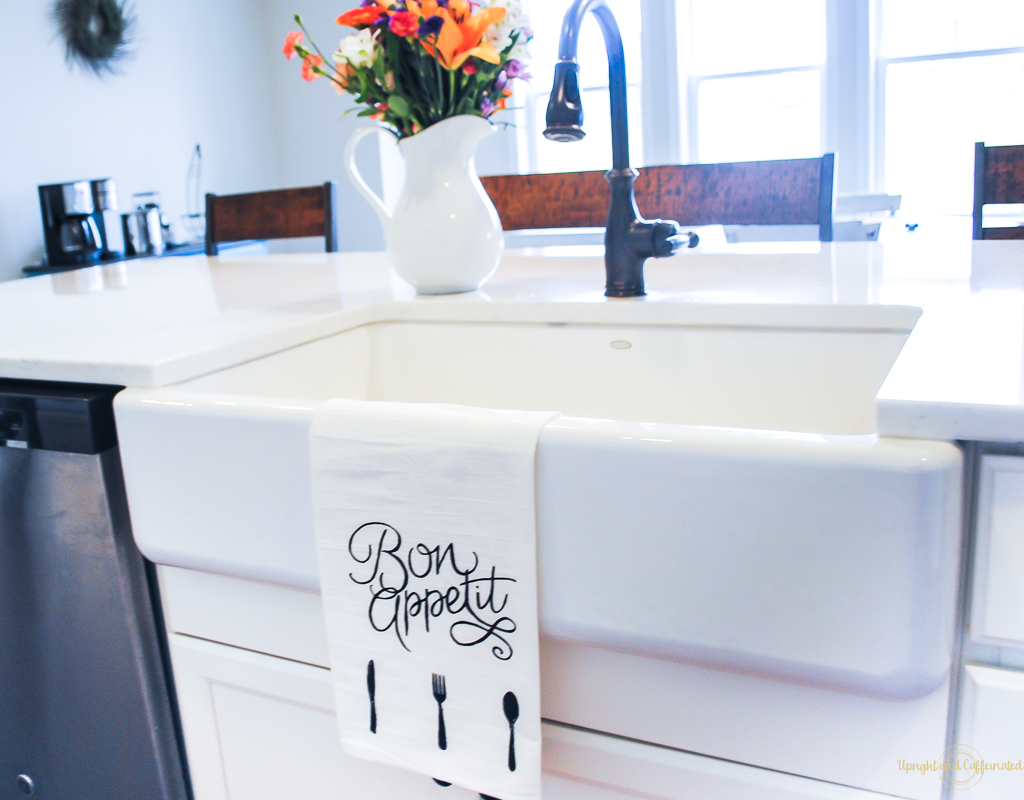
Check out this video to meet how easy information technology is!
Tips and Tricks for Using Chalk Couture Ink
- No need to fuzz! That's correct. There's no need to fuzz a new transfer when using information technology on fabric. Yous only need to fuzz the transfer when using it on a hard surface. Desire to know what fuzzing is? Sentinel this!
- Utilise the Ink Mat! Chalk Couture makes two different sizes of ink mats. This one is longer and made to be cutting to fit the size of your projection. This foursquare one is made for pillows and t-shirts. Either one works GREAT. The thing near the ink mats, they are gummy on the forepart. Therefore, your fabric will stick to the may and will stay flat while you duster the ink across the transfer and fabric. If you attempt to use a slice of cardboard, your fabric will motility and you lot take chances getting ink on other parts of the fabric.
- Exist the Phlebotomist! Don't allow the ink bleed! I wish I could take credit for that, but another Designer fabricated that upward! But really, press down all around the silk screen expanse of the transfer- where the blueish part meets the encounter-through office. Make sure you have a tight seal and that will prevent any bleeding of the ink.

- Apply very piddling ink! You don't need much ink at all. A tiny flake will go a long way. Be very conservative with the amount of ink you put on your squeegee.
- Off-load the ink on the blueish role of the transfer and so squeegee it down onto the silk screen part. This is one of the most important tips! If yous offload the ink on the blue part of the transfer and not correct on the silk screen, you lot are more likely to get fifty-fifty coverage without any bleed on the cloth!
- Utilize extreme caution when peeling off the transfer. Make certain you don't take any ink on your fingers before peeling the transfer off. If you touch the material with ink on your fingers, the ink will go on the textile. Advisedly remove the transfer and your project will look perfect!
- Let the ink dry before oestrus-setting! The ink needs to be completely dry before attempting to rut-set. I leave my project overnight to ensure the ink is dry. For smaller projects, you could speed up the process by using a hair dryer to aid dry the ink.
- Estrus- Set! Heat setting is super piece of cake and you don't need a fancy heat press. Of course, if you have a heat Press, it certainly works well, simply a household atomic number 26 works too! Only set the iron to medium heat and iron the cloth on both sides for virtually 4 minutes on each side. Make sure you continuously movement the iron in a round motion.
That is it! If you follow the tips and tricks, yous volition stop upwardly with a perfect project! I love using the ink at present and I am no longer scared to ruin a project. In fact, now that I am using the ink, I experience like a whole new world has opened up for me. The possibilities are countless and I take so many ideas for projects in my head.

How To Heat Set Chalk Couture Ink On Fabric,
Source: https://www.uprightandcaffeinated.com/chalk-couture-ink/
Posted by: flowersitted1973.blogspot.com
0 Response to "How To Heat Set Chalk Couture Ink On Fabric"
Post a Comment